Tuesday, May 18, 2010

Video Frames to Layers

Some times when you watch movies or drama, you would probably like the insane action part to be your desktop wallpaper or your cellphone wallpaper. In order to capture a frame in a video, You would probably need extra software which is called Total Video Converter to convert any video format to Apple Quicktime (mov) format. Let say this image here was taken in an action scene of the story

This the scene of the fast and furious movie where they are just about to race and this image was taken from a video as well. Since i got this image already, i would probably choose another scene in this tutorial.
Before I start editing the frames, firstly you would need Total Video Converter where you can get it from the internet and its is free as well. Then open your desire video and convert them into Apple Quicktime Format

When done converting, open Adobe Photoshop CS3. Then choose File follow by import and choose Video frames to layers


Then load your preferred video. Thus after this you need to play the video and select the perfect frame to make as a wallpaper.


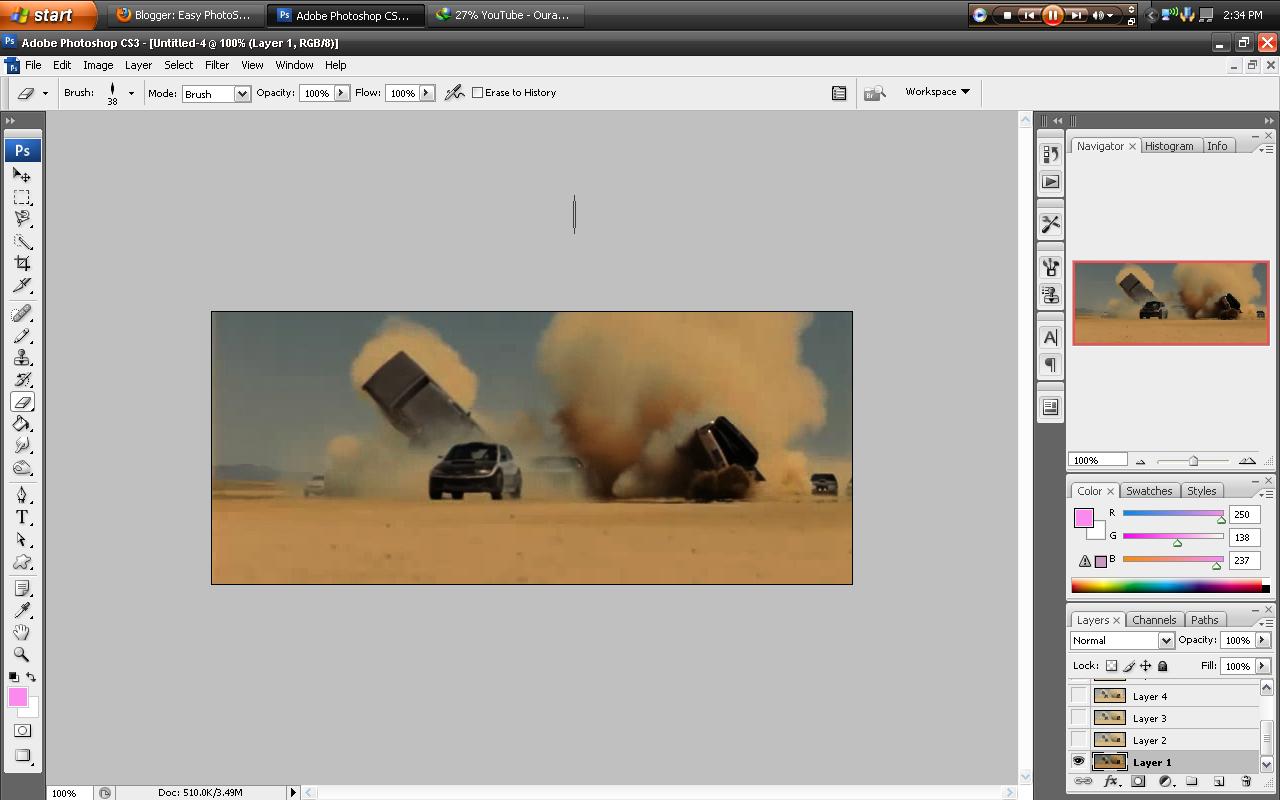
When selecting a frames, pause the video and press ' SHIFT ' on your keyboard while moving the slider a bit to the right. Then press ' OK ' to import selected frames. Later thus you will got the selected frames like shown below.


And of course you would probably can edit this photo is anyways you want. In my other blog, all I did was get a part from an anime video i downloaded and turn the kissing part to an edited image. Editing video image is as if editing normal image so I would skip that part. This is the end for this tutorial and I believe that you can do it better than me.

Colors And Shadows

Hello there, we meet again then!! for this post I'm gonna show you how to color a drawing by using Adobe Photoshop CS3. Firstly if u current had draw images by using Picmo Anime software, it would probably be black and white. thus if u had currently draw image on a piece of plain paper, it will also be quite dull. So by using Adobe Photoshop CS3, you can color your image and even create a shadow. This picture here is a result from a black and white image.

This image come from a black and white image below:

Since the result is orange color, I'm gonna paint the current image above pink color just to show more girly looks on a sport sedan. First, open this image in Photoshop and use eraser to erase the white colour.

When all white area is erase, i would suggest you to paint the background of the car black to make it more contrast. To paint, use use Paint Bucket Tool and don't forget to select your preferred color.

When the car are all done with pink color, you can probably start to figure out where would the shadow be around the curve area. By using Burn tool u can darken the area where it suppose to be shadowed

You can work with the whole car until you satisfied with it and it would probably look like this when the pink car is done.

But at the end, the car turn color bit different that what i would expected. This is because too much tinting. Hope you can do it better than me! Next on Easy Photoshop tutorial, Video Frames To Layers.

Adjusting 3D looks.

Hi there again and nice to meet you. some people like to draw cars, anime, buildings, and stuff. In my expertize, I know how to draw cars but I'm poor at drawing rims and tire for the car's drawing. this is a photo of a result where I've place the rims at the perfect angle which fits the image.

Since you've learn how to overlap the photo, The basic for skewing a photo into another photo is overlapping. This result photo comes from two different images as well but the rims are in different angle and sizes. the actual images looks like this:


Still in basic, but this time after you put in the rim inside the car photo, u would probably need to skew it so that it will fits the tire base just fine.

Firstly, select only the rim and erase the  background image to make it smaller.
Then minimize the tab and open another tab with the car (destination image). Then what you learn previously, adapt it by moving a picture into another picture and use eraser to erase excess image.


When done erase excess image, first select the image and select free transform. Then right click on the image and choose skew. Before skew, you can resize the image first so that it fits the care tire base. When it is done, it will looks something like this.

So i guess that's all i can show you!!! keep trying!! hope you can be an expert one day.
 Next on Easy Photoshop Tutorial will be Color and shadows

Monday, May 17, 2010

Overlaping

Thinking of overlapping, you would probably need two picture which you would think it fits the space. Since I've choose my photos, I would teach you how to overlap them and on the other hand, you can eventually trick your friend.

 This photo of mine apparently  showing me at an auto-show in Tokyo Auto saloon.
This photo source also come from two picture which is my picture standing in a room and a car in the auto-show.


This is those two actual photo


First scale this two photo to the same pixel

Then open the photo in two small windows. Drag a smaller photo to a big photo. By moving it, the photo will appear as the second layer.

when the photo is in place, u can adjust it to fit the surrounding and use eraser to remove excess image by using eraser tools.

Lastly it would probably appear as how it should. that is all for this post. Next post would be Adjusting 3D looks.

Introduction

Before i start posting for the rest of the tutorials, you would probably need Adobe Photoshop CS3 Extended to follow up in this tutorial.

My name is Nizam and I'm one of Malaysian citizen who have a lot of interest in making my own animation. But on top of that, Adobe Photoshop would be the basics. In this tutorials, I will post 4 posts which will describe 4 simple way to edit photos and even videos. In this tutorial, first lesson would be make overlapping layer out of two pictures. wince this post is just an intro, i will continue in the second post.